
How to Apply Rolled Roofing
Rolled roofing is a type of roofing that has seen a rise in popularity recently, with one of the major benefits being that it is inexpensive compared to shingles and many other roofing materials. Moreover, it is incredibly easy to install on your roof, meaning you will not require a pro to do the work for you.
If you follow the instructions, you will only need a few hours to install rolled roofing. That includes making thorough preparations, such as measuring the roof and getting your materials ready. It also means installing the roofing, starting with marking guidelines with chalk, placing each layer, and using cement and nails as needed.
You will find everything you need to know below. Just make sure to be careful, just like you should with any type of roofing work.

Make Preparations
Proper preparation is important to get the job done right. Fortunately, there is not much you need to do when installing rolled roofing. You will start by getting measurements, followed by purchasing your materials and setting up safety precautions. Finally, you will clean the roof and lay out your materials for the job ahead.
Measure the Roof
Although rolled roofing is relatively inexpensive, you do not want to overbuy material for no reason. That means you need to take accurate measurements of your roof to determine how much material you need.
You will need a tape measure for this step, which you will use to measure the length and width of each section of your roof. You can then multiply those values to get the area, adding that to the area of all the other sections to get a proper estimate.
If you are dealing with a square or rectangular roof, you do not have to worry about going by section and can calculate the area directly. Otherwise, take your time and go bit by bit. Also, when purchasing materials, get around 10% more to account for wastage.
Purchase Your Roofing Material
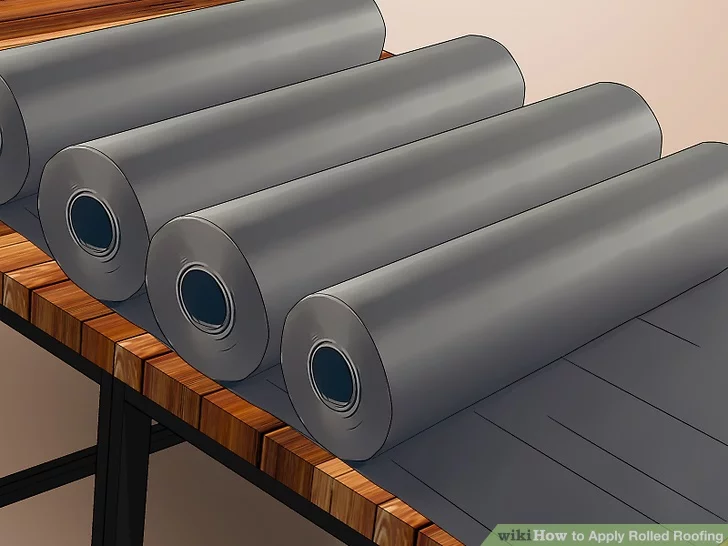
Now that you know how much material you need, including the extra, you can make a purchase. You can buy rolled roofing at hardware stores and building supplies stores, which will sell it in rolls. If you find them difficult to carry, feel free to purchase multiple smaller rolls since you will be cutting the material to fit anyway.
Set Up Safety Precautions
Safety is always important, especially with roofing work. It becomes even more important if you have a steep roof or lack experience. That is why you might want to consider having someone with you while you work.
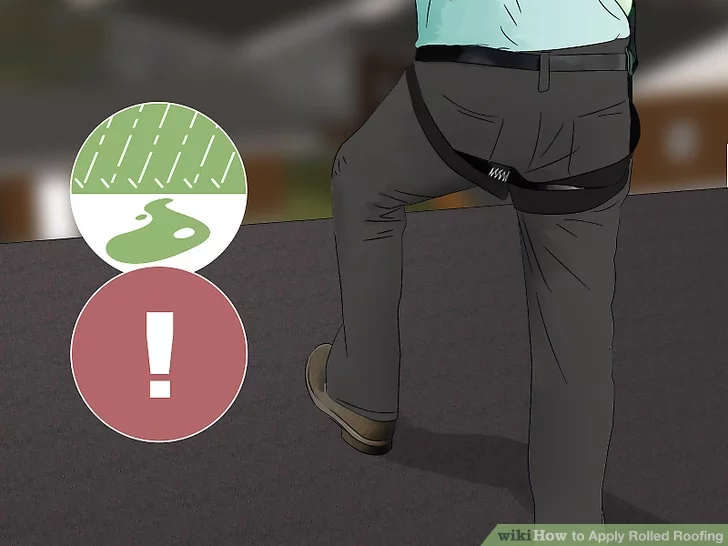
You should also avoid getting on a roof when it has rained or if there are signs of rain. Roofs become slippery, which makes an already dangerous task even riskier. Moreover, even if it is dry, be wary of the slope and wear the proper shoes with grips on the soles.
Clean the Roof
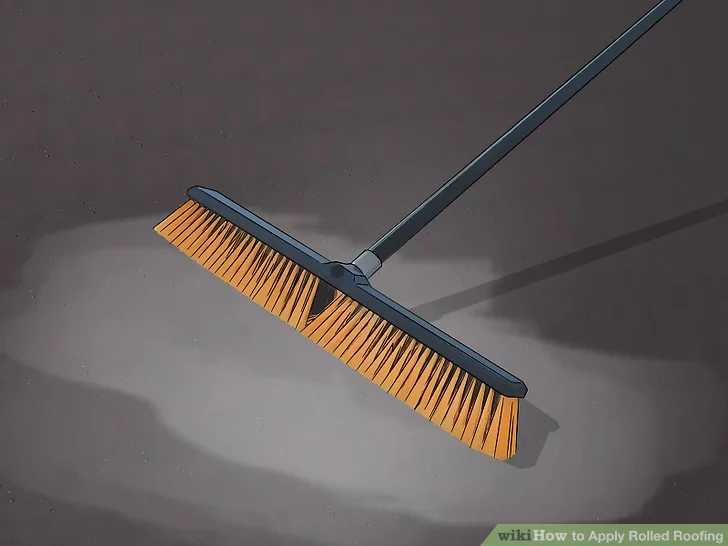
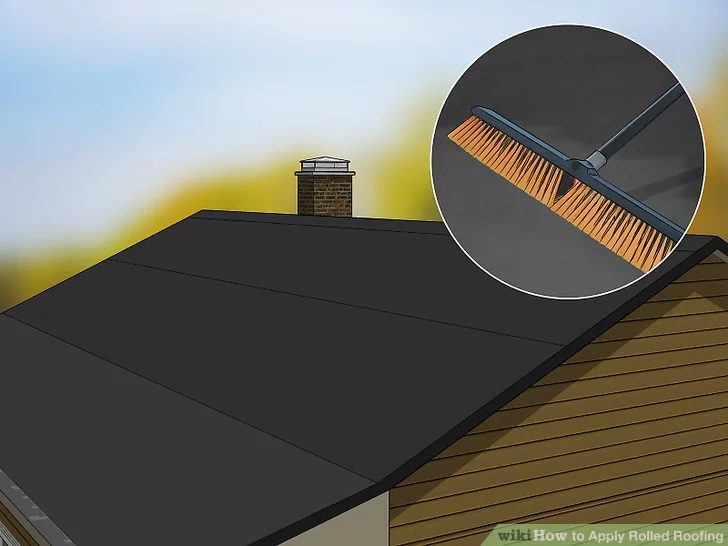
You will want to make sure there is no old roofing remaining before cleaning, but once that is taken care of, you can start getting everything else out of the way. That means getting rid of dirt, grime, or anything else, which is often accomplished with a stiff brush or a leaf blower. Make sure to clear your gutters as well, assuming you have them.
Something else you might want to consider is using a hose after you have cleaned the roof. However, if you decide to hose down the roof, make sure you do it from the ground and do not go up to install the roofing until it is dry.
Lay Out the Materials
Laying out your materials is a useful step that helps you keep things organized and ready to go. Start by rolling out the roofing sheets and laying them flat, placing bricks at the corners to hold them down and reduce resistance later.
You can cut the roofing into pieces between 12 and 18 feet, which you can then lay out flat in the yard. It is best if you can let them flatten in the sun for the day, but if it is cold, you will want to move the roofing into the garage or somewhere warmer. That is because cold weather damages roofing.
Install the Roofing
The installation of rolled roofing is relatively simple as long as you follow a few easy steps and use the right materials. And if you do it right, you come out with a fantastic roof that will last anywhere between eight to ten years. The basic steps involved in installation are marking chalk lines to serve as guidelines, applying roof cement to secure the roofing, and placing and cutting the rolled roofing to fit your roof.
Mark a Line In Chalk
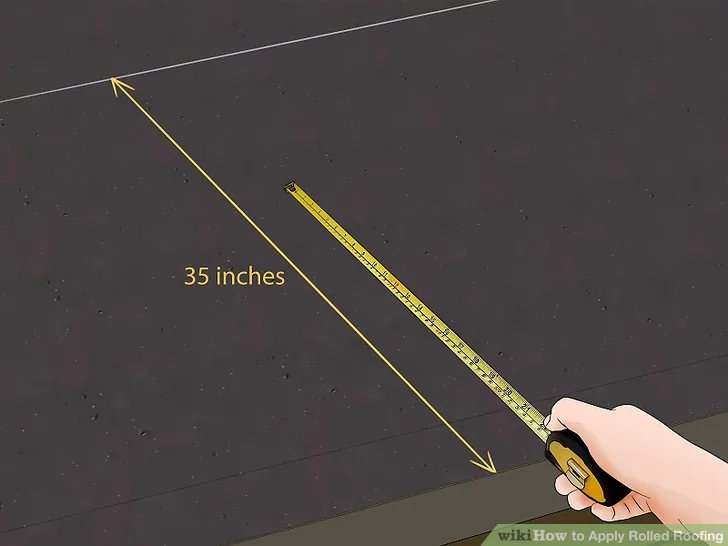
The first step is marking a chalk line, which will signify where you want the first layer of the rolled roofing to end. Most roofers use a measurement of 35 inches from the bottom of the roof for the first layer, so you should do the same. Once you have marked that point, draw a straight line across the roof.
When you are marking your chalk line, do not use the eaves as your guide since they will not always be at the same height all the way across the roof.
Apply Roofing Cement
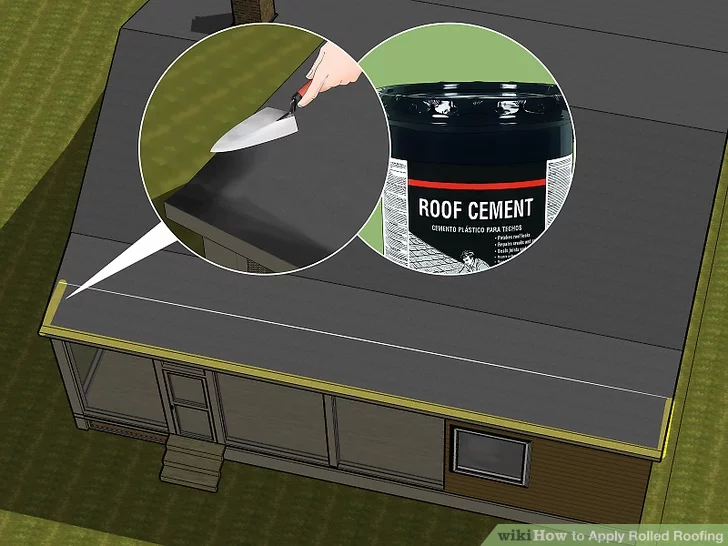
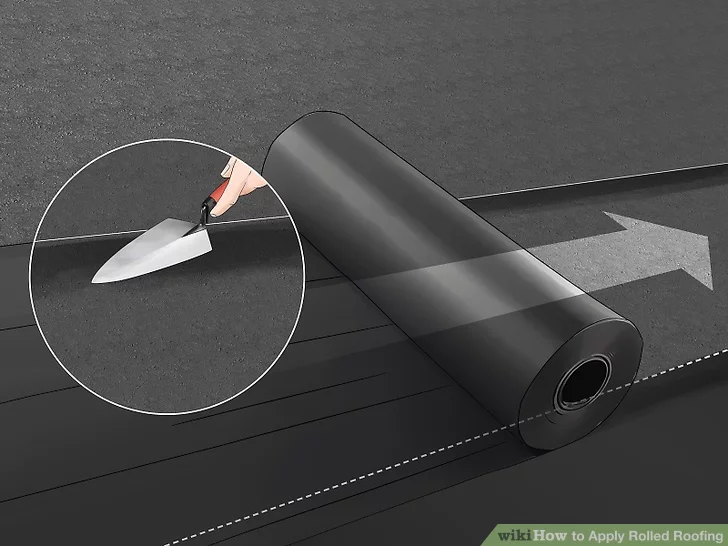
After your line is in place, grab roofing cement and a trowel. Then, scoop and spread the cement around the edges of the roof, keeping it around 1/8 to 1/4 of an inch thick. Make sure to apply it in stages, starting at the bottom and using the chalk lines as borders for each section.
You do not have to get a special type of cement and can use what you can find at a hardware store. However, you should read the instructions on the side before you begin working. Also, make sure to wear gloves when using roofing cement.
Cut the Roofing Material
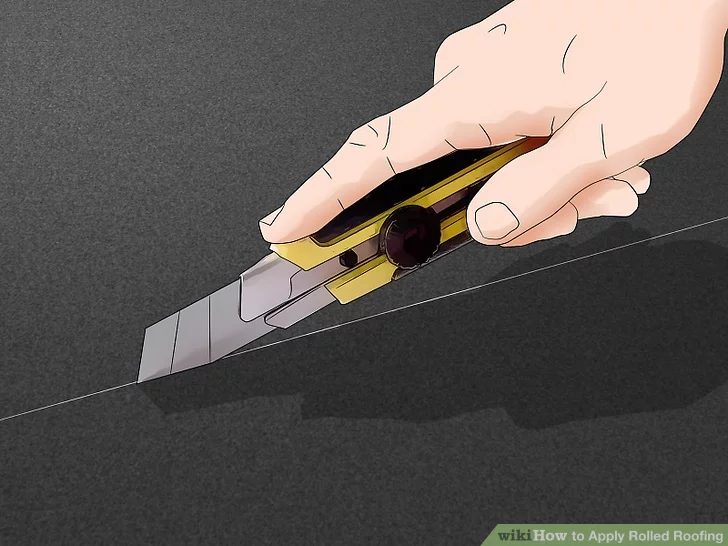
Rolled roofing is easy to install for a few reasons, including the fact that you can easily cut it to the size you need. Therefore, make sure you cut it so that it reaches the chalk line and goes from one side of the roof to the other. To do this, you can use a utility knife, applying as much pressure as needed to get through the material.
Place the First Layer
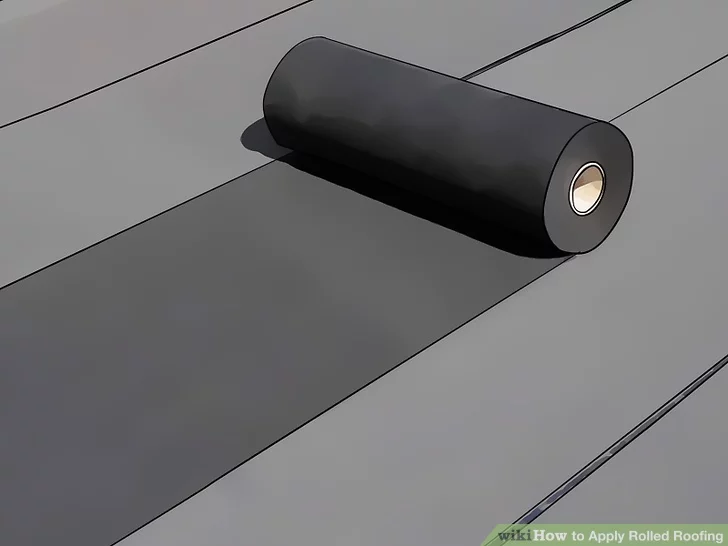
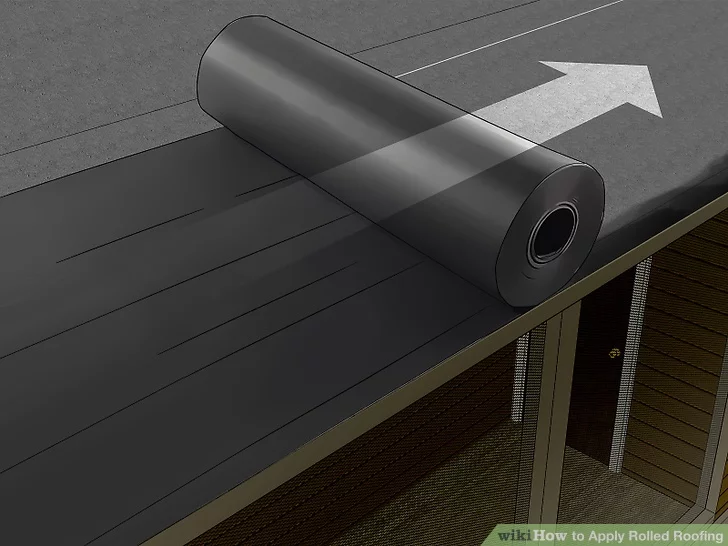
Now that the cement is down and the rolled roofing is cut to size, you want to place your first layer. When placing it, stretch the roofing to remove any wrinkles or creases, then push it onto the wet cement to properly secure it into place. And remember, it should only go up to the chalk line.
Secure the Rolled Roofing
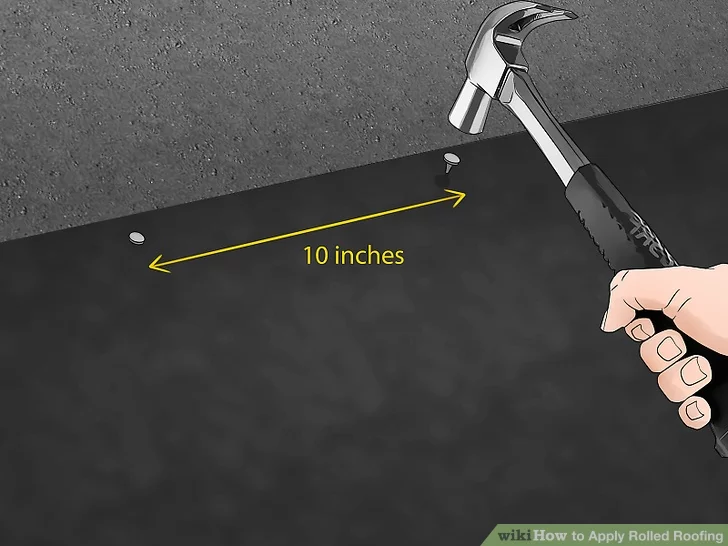
While the roofing cement will help secure it temporarily, nails ensure it is firmly in place. Use a powerful hammer and 1-inch roofing nails, hammering them into the roof at 10-inch intervals. They should all be hammered well into the roof so that no part is sticking up to avoid problems as you place additional layers.
Mark a New Line In Chalk
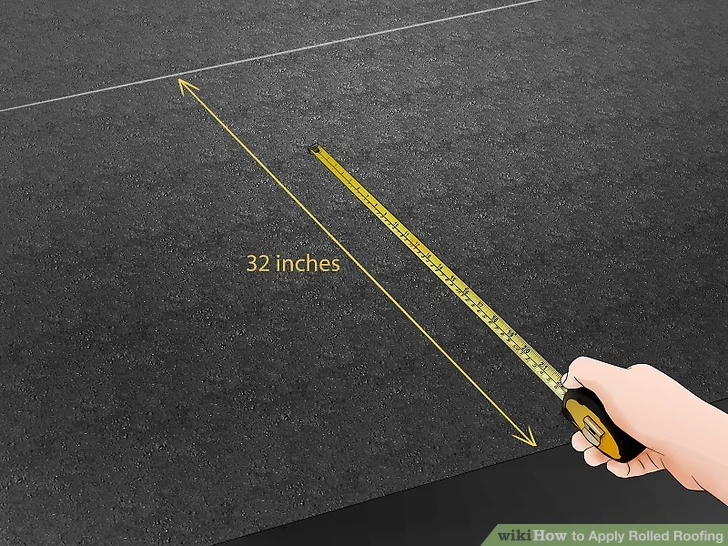
Once you place a layer down, you always want to add a new chalk line. However, after the initial line, you only want to go up 32 inches. The reason for the shorter distance is that you are going to layer the new rolled roofing over the previous layer. When doing this, use a tape measure for precision, then draw a line across the roof.
Apply Cement and Secure Additional Layers
Take the trowel and cement and add more roofing cement, applying it below the second chalk line. After you have it across the roof, you can start to add another layer of rolled roofing above the first. Just make sure to overlap it with the previous layer by about six inches. You also want to nail the layers together.
The process will be repeated until you cover the entirety of the roof. You will apply the roofing cement, overlap the layers after the first, and secure the roofing material with 1-inch roofing nails.
Cover the Remaining Nails With Cement
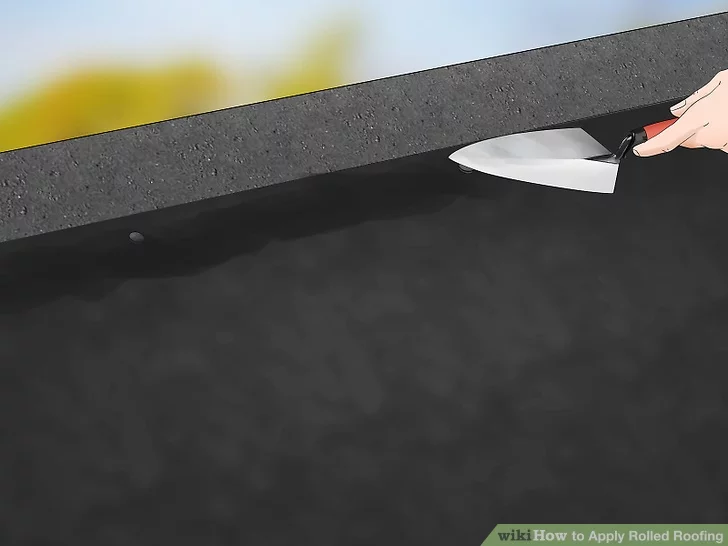
While the nails secure the roofing in place, they also need a layer of protection, which comes in the form of your roofing cement. So, once you have all of the rolled roofing installed, take your cement and cover your nails with it to seal the nails into the roofing.

Trim and Seal the Edges
Another necessary step is trimming and sealing the edges, which involves a utility knife and more roofing cement. You will take the knife and remove excess material, paying particular attention to corners and edges. When you finish, try lifting them. If you can, seal the edges in place with your roofing cement.
Clean the Roof
It is always a good idea to finish off any roofing project by cleaning any leftover dirt or debris. With a rolled roof, you can do this with a stiff brush, though there really should not be much dirt on the roof. Once you are sure everything is tidy, you are done.

With over 12 years of construction industry experience, David Bitan specializes in restoring, inspecting, maintaining, and repairing roofs for residential, industrial, and commercial properties.
We Turn Every Project Into A Hive Of Excellence
-

Masterful Craftsmanship
Our skilled team merges art with function to ensure every roof is a testament to expert craftsmanship and quality.
-

Fast & Efficient
Time is of the essence, and we value yours. Count on our prompt and efficient service for all your roofing needs.
-

Guaranteed Satisfaction
Happiness is our benchmark. Experience peace of mind with our 100% Satisfaction Guarantee on every project.

Our mission at Bumble Roofing is to set new standards in quality by ensuring clients receive top-tier service, world-class materials, and an enduring roof over their heads.