How to Build a Shed Roof in Calabasas
Sheds provide fantastic storage that keeps everything inside dry and protected. But that is all dependent on the roof, so learning how to properly cover the building is vital. It all starts with choosing a style, which will be based on what you need and prefer. Then you can start planning, taking measurements, making cuts, and getting the rafter boards how you want them.
Once the prep and setup are done, laying down the roof is a simple task. All you need to do is put down the plywood sheathing and use the materials you prefer to attain the lasting protection and peace of mind you need.
License: Creative Commons
Plan Things Out
Planning out what you are going to do is an important part of any build and will save you time and effort moving forward. When it comes to building a shed roof, planning means picking out a roof style, figuring out the pitch you want, and marking where the rafters will go.
License: Creative Commons
Pick a Style
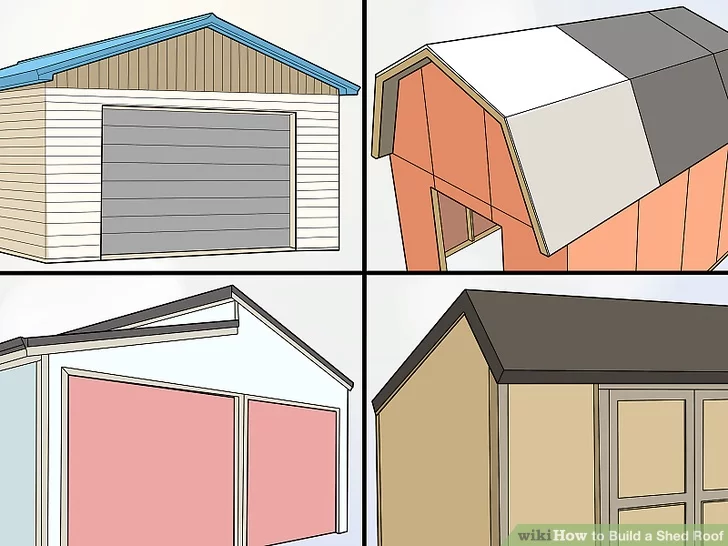
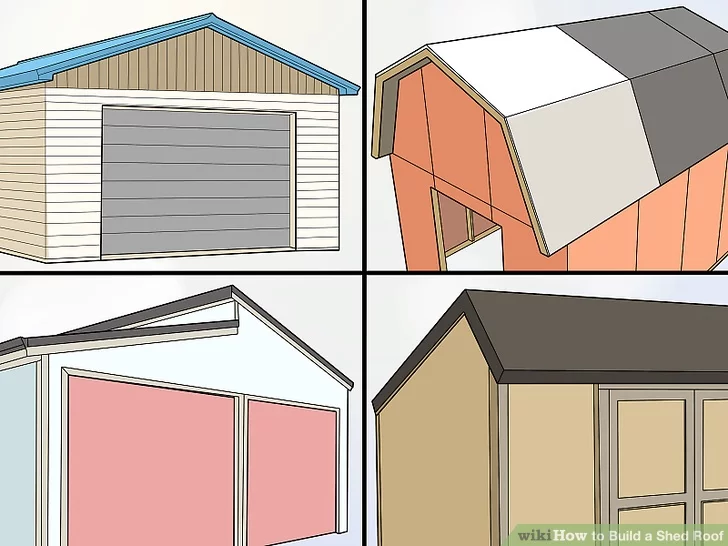
The first step to building a shed roof is picking out the style you want. There are multiple style options, but your choice will primarily depend on what you think looks good. That is because the popular choices are all designed with a slope to allow precipitation to run off. Here are some of the most commonly used styles for a shed roof:
- Gable: It is denoted by a single central peak and is often seen on homes.
- Gambrel: The traditional choice for barns, with both sides having two sloped faces, of which the second is perpendicular or slightly angled to the ground.
- Skillion: A simple style that has a single flat surface with a gradual slope from top to bottom.
- Saltbox: Saltbox is much like the skillion style. However, there is an additional short slope opposite the long one, which can be described as an upside-down check mark.
Of the four above, the saltbox style is not as common as the others, but they are all popular choices. Moreover, they all have a nice slope and will keep the inside of the shed protected from the elements.
License: Creative Commons
Figuring Out the Pitch
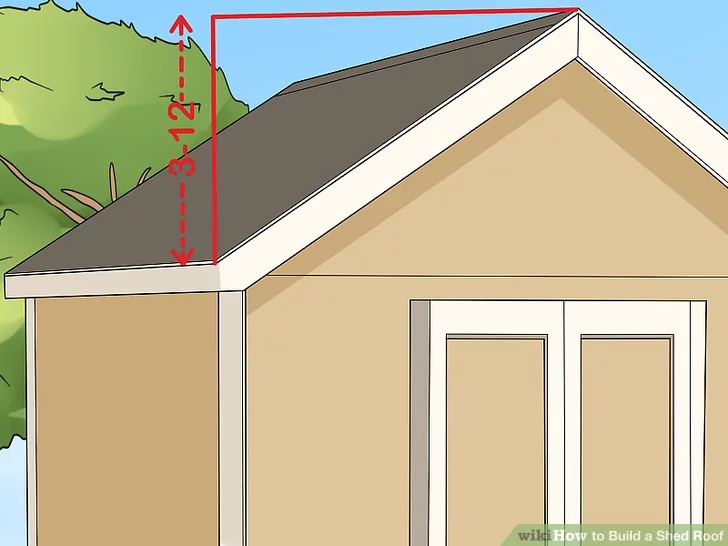
A sloped roof allows water to run off, which is why figuring out the pitch, otherwise known as the slope of the roof, is important. However, you cannot pick any pitch you want. Standardized building codes demand a certain pitch for proper runoff, which is a minimum pitch of 3/12.
The basic formula for determining pitch is rise over run, which points toward how many inches of rise there is after so many inches of run. In the case of 3/12, you have a 3-inch rise and a 12-inch run. That would give you a rise of 3 inches for every 12 inches of length.
Keep in mind that the steepness of the roof impacts how effective it is at deflecting weather and anything else that ends up on top of the roof. Additionally, if you want detailed information on the angle, grade, and rafter length from your desired pitch, you can use an online pitch calculator.
License: Creative Commons
Mark for the Rafters
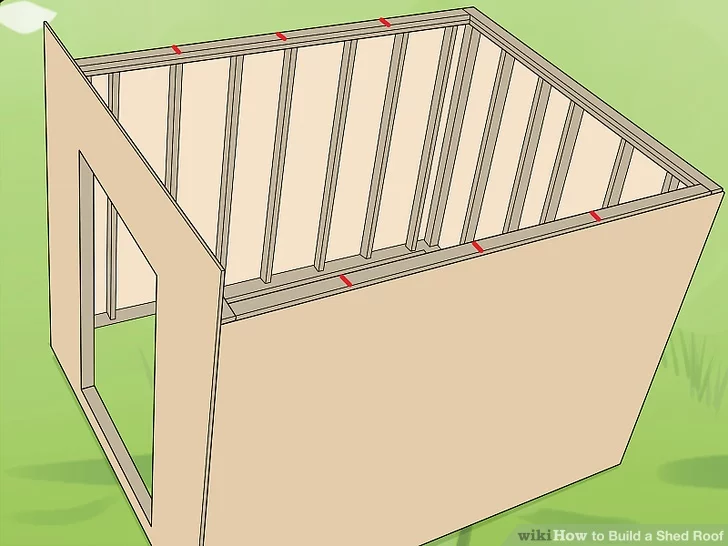
Properly marking the positions for each set of rafters atop the shed is important since spacing matters. Though, it can be made easier by following the spacing of the wall studs. You can use a carpenter’s pencil or felt-tipped pen to leave clear lines on the wall plate timbers at the locations you intend to place each set of rafters. In most instances, the rafters will be separated by around 20 to 24 inches on the center.
Getting the spacing right will give you the maximum support possible without you having to use more materials than necessary. If there are already rafters installed, you can move directly to the part going over the installation of roofing materials.
Fashion and Set Rafters
The fashioning and setting part of building a shed roof will likely be the most time-consuming, but as long as you do it well, the rest is much easier. It starts with measuring boards and cutting them to size, followed by adding notches. Then, you will assemble trusses, attach the end rafters to the frame, and set the rafters into place.
Take Measurements of the Boards
The first thing you need to do is ensure you have rafter boards that are measured to fit your preferences and chosen pitch. The end result will be based on the shed’s size, as well as the style and slope decided on during the planning phase. For example, if you want a steep slope, it will require greater length and additional end cuts than a flatter surface.
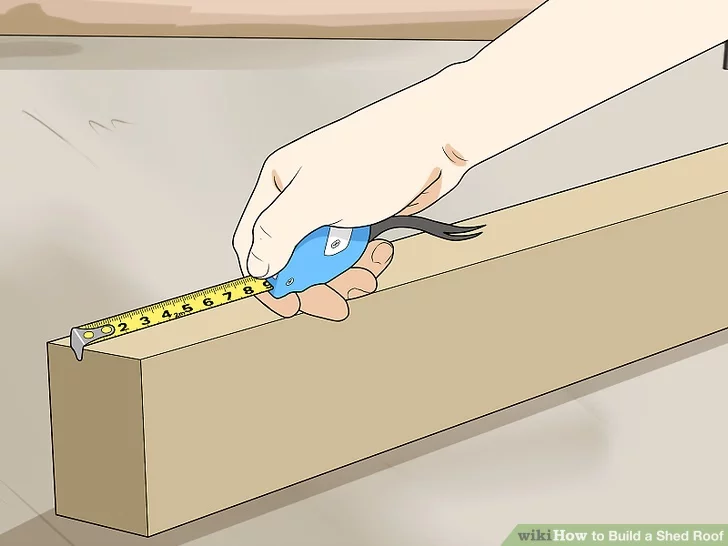
Get the measurements and make markings on your 2×4 or 2×6 boards using whichever writing implement you used when marking for the rafters. Efficiency dictates that you should mark every board at the same time or cut one to serve as a template for the others.
Additionally, when cutting the ends of all of the boards, make sure that you get the right angle so that they fit together at the peak.
License: Creative Commons
Cut and Add Notches to the Boards
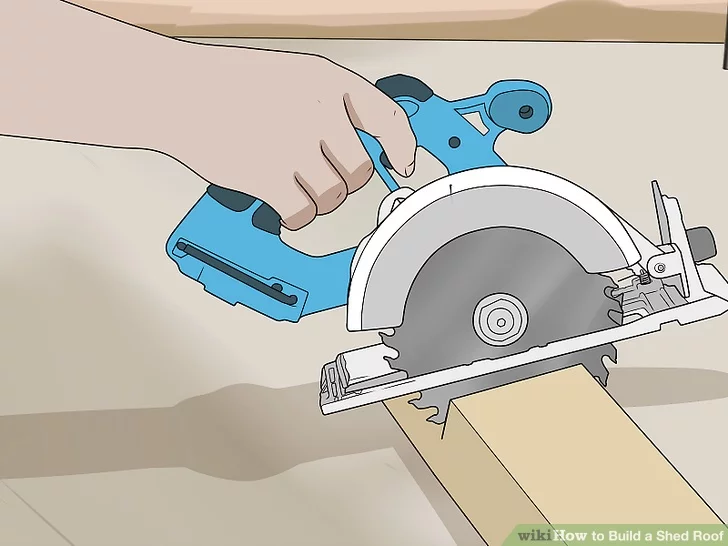
For this step, you will need a circular saw, which you will use to take care of all the boards at the same time. Doing so will allow you to directly start assembling your rafter boards into trusses, which you will then attach to the frame.
To start, move the blade into place over the end of the board, carefully and methodically making each cut. Precision is key. While cutting, you can make adjustments to the settings to match what you need for the length and angle of the rafters.
License: Creative Commons
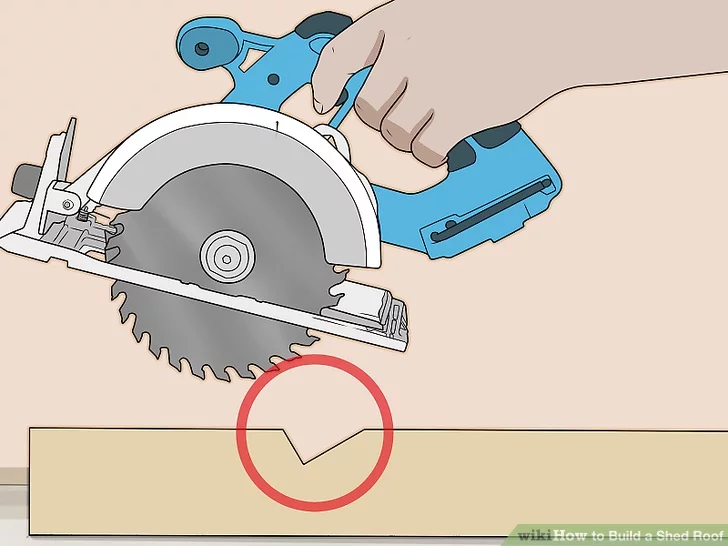
Once the cutting is done, you will add a birdsmouth notch so that things will fit in place. The notch will go at the end of every rafter, allowing it to sit level atop the wall plate. Doing this avoids the need for balancing.
After positioning each board to match the angle of the pitch of the roof, proceed to draw a 90° angle upward from the bottom edge of every one of your boards. The lines drawn will correspond to the height and width of the wall plate, and after cutting along them, you will have the necessary notch.
Keep in mind that if you plan on having an overhang, you are going to have to place the notches higher.
License: Creative Commons
Assemble Trusses
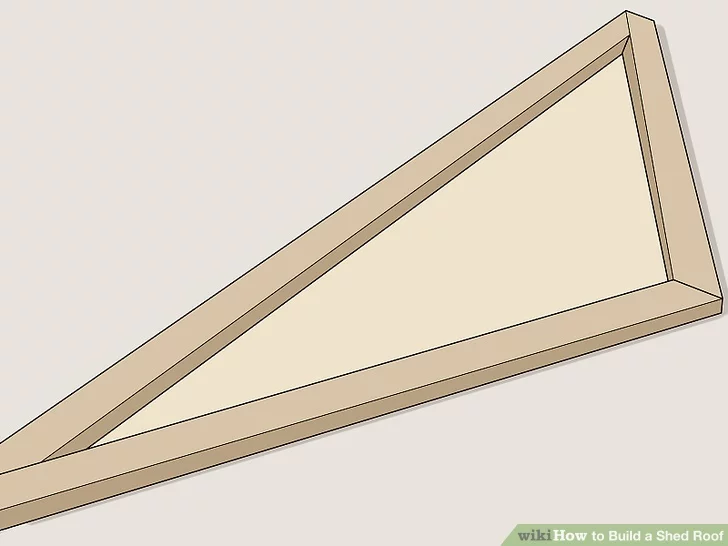
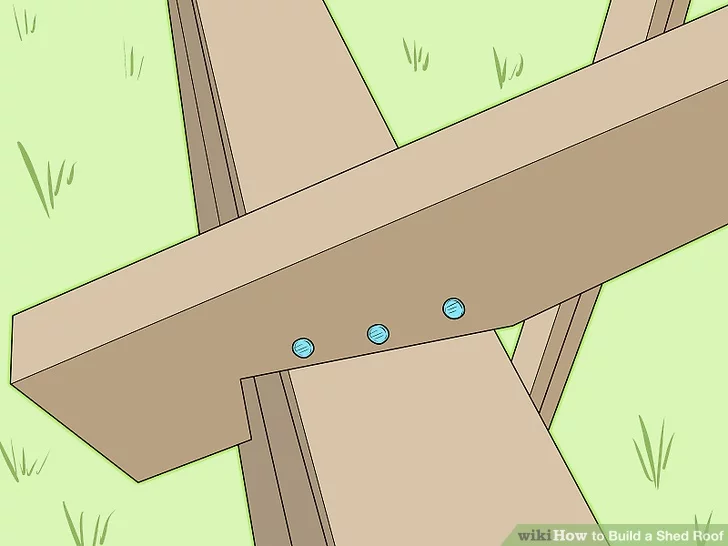
With the boards properly cut and notched, assembling the rafter halves into trusses comes next. Start by tracing the upper eight to ten inches of the rafter peak onto 1/2-inch plywood, followed by cutting out a triangular gusset plate with a skill saw.
Once you have the plate cut out, put a light layer of construction glue on the back. Applying the adhesive to the plywood prevents excess from being on the trusses, though you do not have to be too careful. You can also apply a bit where the rafter boards meet.
Next, you want to align the gusset with where the boards meet and push it into place, followed by securing it with a few nails or screws. Adding the gussets to the rafter boards will strengthen the connection, improving the durability.
License: Creative Commons
Attach the End Rafters
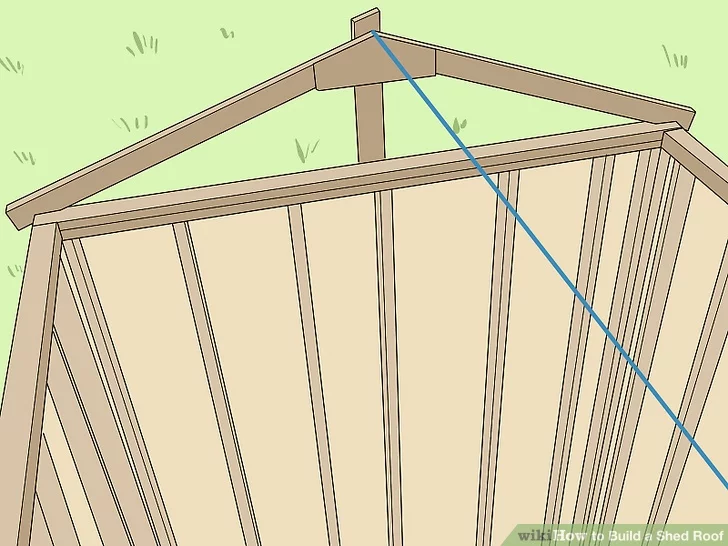
Now that everything is secure and stable, you can start getting things properly in place. The first part of that is attaching the end rafters to the wall plates of the shed’s frame, starting with the first rafter. You will want to lower it down in the front or back, then fasten the truss into place using 8D finishing nails. Make sure to angle it so that the nails go into the boards near the notch and penetrate the wall plate below.
Three nails on both sides should be enough to secure things, at which point you can move on to doing the same thing on the other side of the frame. When you are doing this, ensure the notch is secured firmly to the wall plate and that the truss is directly against the outer edge of the wall.
License: Creative Commons
Set Up a Centering String
Sometimes, simple additions make a big difference in getting a job done right. That is precisely the case when dealing with rafters, with an ordinary string making it much easier to keep things centered.
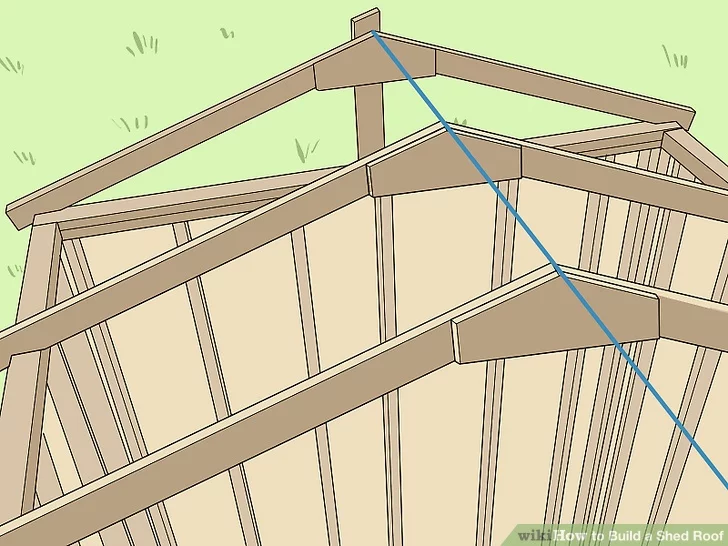
To set this up, run a string from one end truss to the other. By adding a nail to the peaks, you create an anchor, which you can wrap the string around. After tying it to one, pull it taut and wrap it around the nail at the other end. Of course, if you do not want to use nails, you can tie a knot in the string and tuck it into the joints or use whatever other means you can think of to keep it taut and centered.
Now you have a visual representation of the center that will help you with the rest of the rafters. You just have to be careful to pull it taut enough without placing strain on the end rafters.
License: Creative Commons
Set the Rest of the Rafters
The centering string makes setting up the rest of the rafters much easier. Proceed to put the rest of the trusses in place, keeping your eye on the string to ensure everything is centered. You will still use the same 8D finishing nails for each of the trusses. Once you are done, you can remove the string and move on to the substrate.
Assemble the Substrate
The substrate of a shed is not terribly complicated, but it is an important foundation for the roofing material that comes after. To properly get it in place, you will cover the trusses with plywood sheathing, ensure there are no gaps, fasten everything into place with nails, and finish the edges with fascia boards.
License: Creative Commons
Lay Down Plywood Sheathing
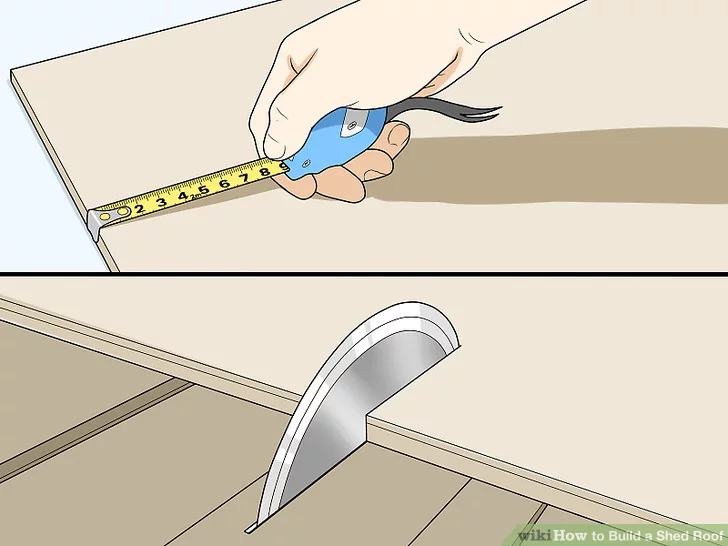
Plywood sheathing is the foundation that supports your new roof, and it also provides a flat surface for the roofing materials you put down after. To that end, most professionals suggest 7/16-inch oriented strand board for smaller projects like this.
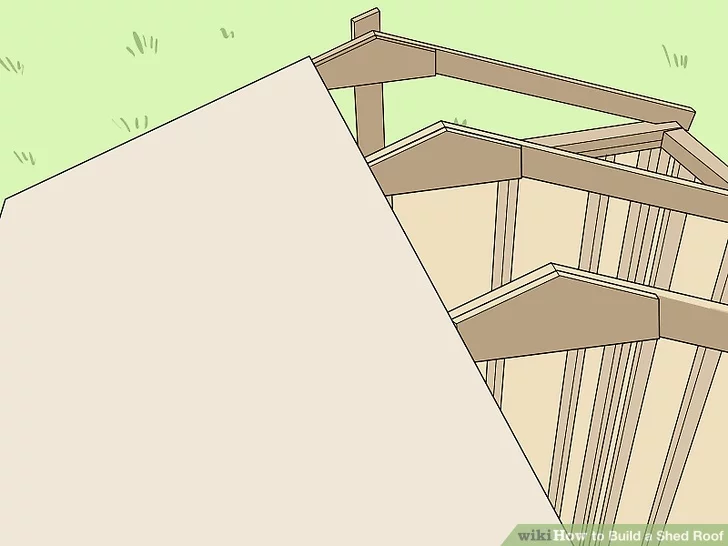
Whether you use plywood or OSB, you will put down your first sheet at the corner of one side of the roof, laying it horizontally over the rafters. Make sure the edges are directly touching the end rafters, and then hammer nails into the corners to hold it in place for the time being.
License: Creative Commons
Fill In Gaps
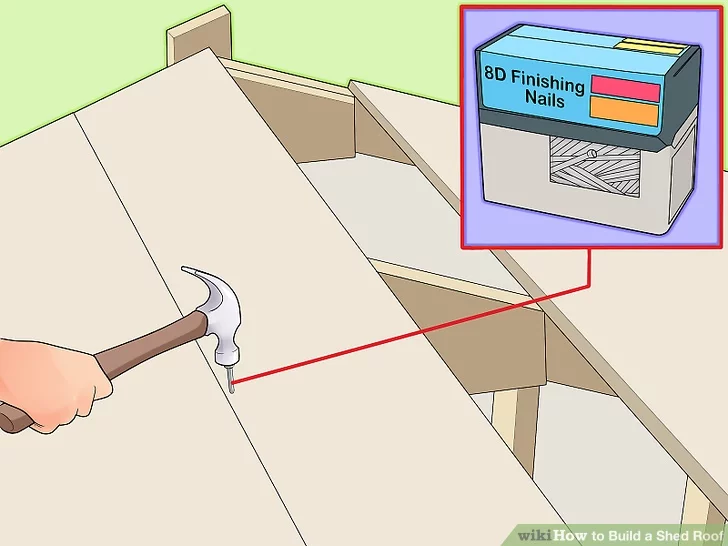
Now that the large piece of sheathing is in place, the next step is filling the gaps. Since plywood comes in large sheets, you will likely have to cut out the sizes you need to cover the remaining space. Try to do this with as few pieces as you can, working your way up from the bottom to the peak.
The plywood should be cut in a way that allows the end of every section to cover half of the width of the rather it rests on. Doing so ensures that it and the next piece fit well side by side and have sufficient room to be nailed into place. Also, make sure the sheathing is oriented the same way for every cut so that the grain pattern is consistent.
License: Creative Commons
Fasten the Sheathing
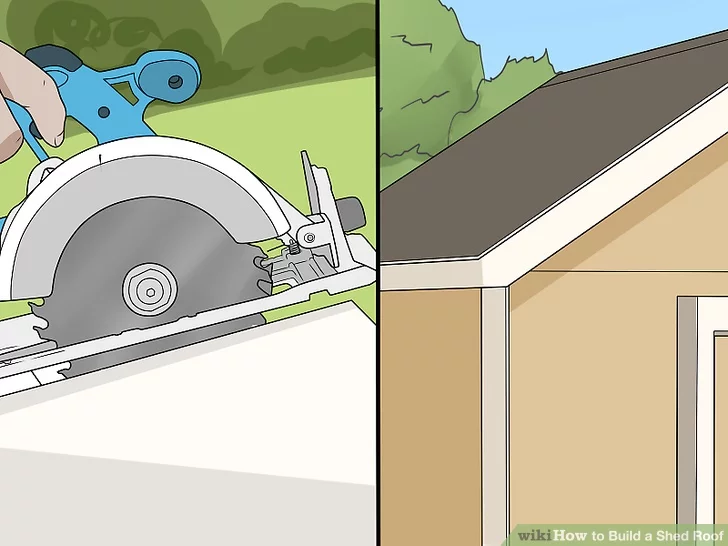
Once again, it is time to turn to 8D finishing nails. Using them, you can fasten the sheathing to the rafters by driving one in every six inches, ensuring each nail goes through the sheathing and into the underlying rafter. As usual, work from the bottom to the top, checking for looseness and adding additional nails as needed.
To remain safe, fasten the sheathing from your ladder as far up as you can, not climbing onto the roof unless things are secure. That being said, properly secured sheathing and rafters can support several hundred pounds of weight.
License: Creative Commons
Cut Fascia Boards
At this point, the ends of your rafters are still exposed. That will be fixed by cutting fascia boards and using them to finish the edges. Do this by cutting 2×4 or 2×6 boards to the same length as that of the shed, then nail the fascia boards to the end face of every other rafter with 8D finishing nails. The lumber should be the same size as that used for the rafters for a perfect fit.
When dealing with slanted roof styles, you will need a fascia board for each sloped edge, meaning a total of two. On the other hand, a flat roof looks better with a fascia board on every side.
Choose and Install Roofing Materials
License: Creative Commons
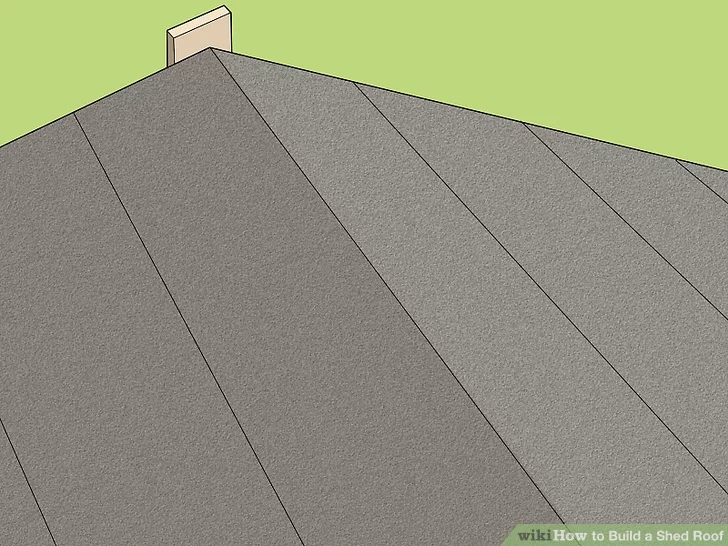
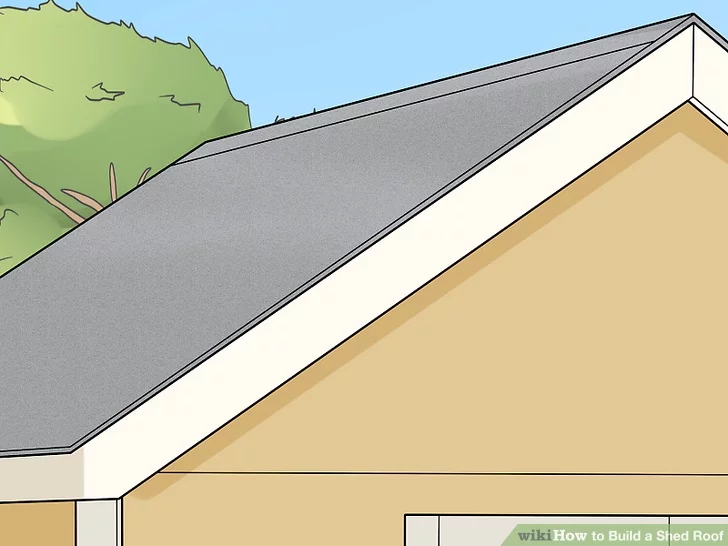
The rafters and substrate are down, meaning the only step left is putting down the roofing materials. While there are multiple types of materials that can be used, a layer of felt roofing paper is a great start for basic protection. After that, it depends on your preferences for finishing things off.
Put Down Felt Roofing Paper
Felt roofing is a great protective layer, and it is not difficult to install. That being said, as you unroll and secure it, make sure to keep the felt straight, flat, and without wrinkles. Keeping that in mind, follow these steps to put down the felt roofing:
- Line up the loose edge at a corner of the roof
- Fasten with around a dozen staples near the center of the strip’s edge
- Unroll while adding staples every few feet
- Cut excess paper from the end of each strip if needed
To make sure every inch of the roof is covered, the bottom edge of each strip should overlap the top of the one underneath it by two or so inches. Additionally, all strip ends should be overlapping by a minimum of four inches.
License: Creative Commons
Asphalt Shingles
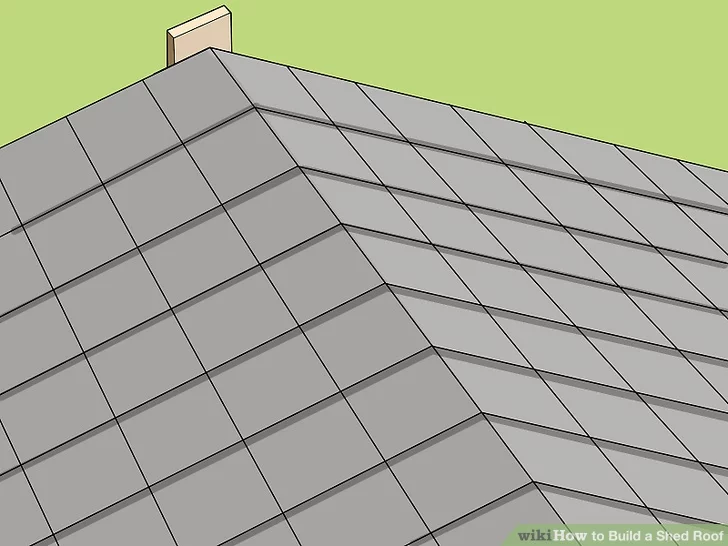
Asphalt shingles are a popular choice, and they are not too hard to put in place. You will start by cutting some of your shingles in half widthwise. When doing this, precise cuts are important, and that is much easier to do if you use a straightedge and utility knife. After that, nail the cut shingles at the bottom edge of the roof.
Once the “starter strip” is secured, install the rest of the shingles from the bottom to the top, offsetting each row by a single tile width. Three 1-inch roofing nails at the top of each shingle will keep it in place.
When laying shingles, use chalk or another method to keep the rows neat and organized. You also want to ensure the top and bottom of each row overlap by two inches.
Corrugated Metal Roofing
License: Creative Commons
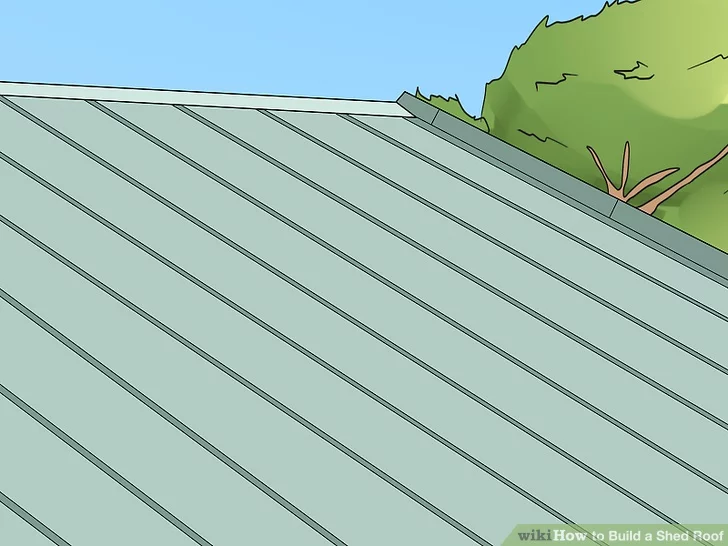
Durability is what you get with corrugated metal roofing, though it also offers plenty of customization. That being said, you will need the right tools to cut the sheets into the right size, such as power shears.
After you make the cuts, place each section vertically, ensuring that the ridges point toward the ground for proper runoff. Then, fasten the sheets with metal roofing screws, doing so on both sides of the ridges down the rafters below.
Roofing is great because it comes in many styles and colors. There are also various materials to choose from. However, rust and corrosion can be a problem, and that means regular upkeep.
License: Creative Commons
EPDM Rubber Roofing
Simplicity and affordability highlight the best parts of EPDM rubber roofing. All you have to do is take a paint roller with strong construction glue and brush it onto the substrate. From there, you can place the rubber sheeting over the area with the adhesive. Repeat the process until the whole roof is covered, trimming any extra material away after.
Of course, you will still need to be careful to keep it flat, possibly even smoothing out the surface after, but it is a very easy process. But even if that part is a bit tedious, it is an inexpensive and quick way to put a new roof on your shed.

With over 12 years of construction industry experience, David Bitan specializes in restoring, inspecting, maintaining, and repairing roofs for residential, industrial, and commercial properties.
We Turn Every Project Into A Hive Of Excellence
-
Masterful Craftsmanship
Our skilled team merges art with function to ensure every roof is a testament to expert craftsmanship and quality.
-
Fast & Efficient
Time is of the essence, and we value yours. Count on our prompt and efficient service for all your roofing needs.
-
Guaranteed Satisfaction
Happiness is our benchmark. Experience peace of mind with our 100% Satisfaction Guarantee on every project.

Our mission at Bumble Roofing is to set new standards in quality by ensuring clients receive top-tier service, world-class materials, and an enduring roof over their heads.


