
How to Replace Damaged Roof Shingles
When shingles are damaged, it can impact the lifetime or your roof. It can also lead to more severe damage if a leak occurs, potentially harming the structure below the roofing. That is why it is important that you take the time to check for damaged shingles on a regular basis, replacing them as needed.
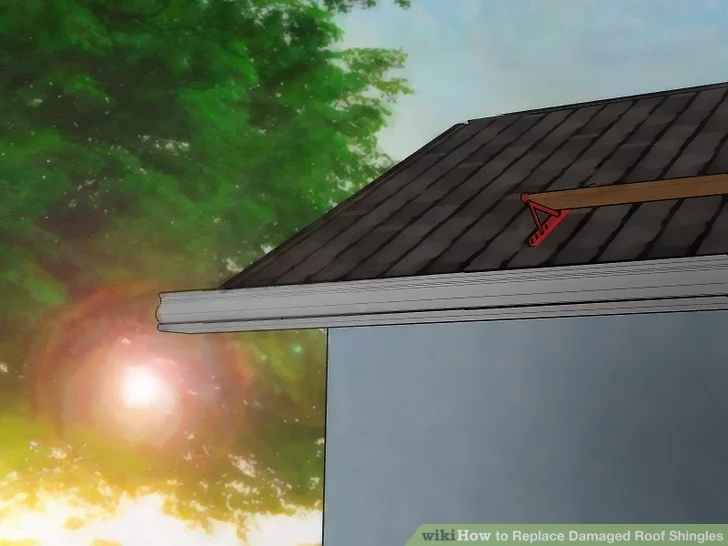
When working on the roof, make sure to pay attention to your safety, using a pro if you feel uncomfortable doing it yourself. Otherwise, you can follow the instructions below to evaluate, remove, and replace any damaged shingles on your roof.
Remove the Damaged Shingles
Once again, take safety into consideration before anything else. Once you are fully prepared, you will then begin to evaluate the damage and plan your repairs. That means waiting for the weather to be good, then loosening the damaged shingle before removing it entirely. Make sure not to leave any nails or debris during the removal.
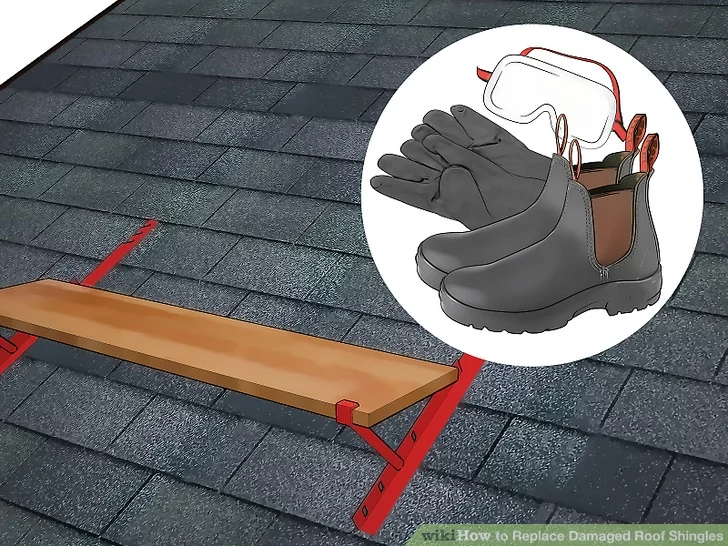
Safety Precautions
All roofing work requires you to take serious precautions since a single slip could result in a devastating fall. You also have to be careful of debris when working, which is why protective eyewear is a must. Heavy-duty gloves and gripping boots to help you walk stably are also great pieces of equipment to keep you secure and free from harm.
When accessing the roof, ensure you use a steady ladder if one is required, preferably having someone else hold it from below. If you have to access the roof another way, make sure to be equally careful, and once on the roof, take slow and cautious steps, especially around the damaged area.
If you are dealing with a particularly steep or complicated roof, you might want to consider a harness and roof jacks. They provide extra safety, though they are not necessary on every job.
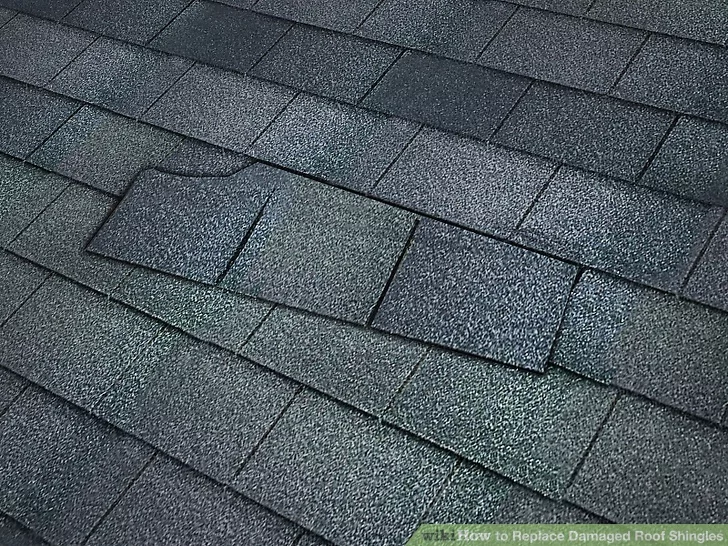
Evaluate the Damage
If you have not already, go ahead and find the damaged shingles. Make sure to inspect your entire roof while you are at it, ensuring there is no other damage. It is especially important to do a proper inspection if the roof is old or if there was severe weather prior to the damage.
After finding all of the damaged shingles, figure out how many replacement shingles you need and check for additional damage underneath. It is also helpful to take a close look at surrounding shingles for damage or curling.
You will also want to check for damage to any moisture barrier or flashing, as well as keep an eye out for signs of seepage. If there is seepage or moisture getting in, replacing the surrounding shingles is not a bad idea.
There is also the chance that a complete re-roofing is in order, which involves replacing all of the shingles from the roof. Re-roofing a home is especially common when a roof is nearing the end of its lifespan.
On the other hand, if the damage is limited to cracks or splits, a simpler repair might be better. If the shingles are still in decent condition, minor damage can be repaired in other ways, such as using a sealant.
Consider the Weather
Before removing shingles, keep the weather in mind. Warm weather will cause asphalt and asphalt sealant to become flexible, which makes them harder to remove. On the other hand, cool weather causes them to become stiffer and brittle, causing them to be easier to remove.
To make things easier for yourself, either choose a cooler time of year or try removing shingles earlier in the day. You can also try wetting them to cool them down if you are working when it is hot. All you have to do is use a bit of water, and the shingles will tighten and become firmer.
Loosen the Adhesive
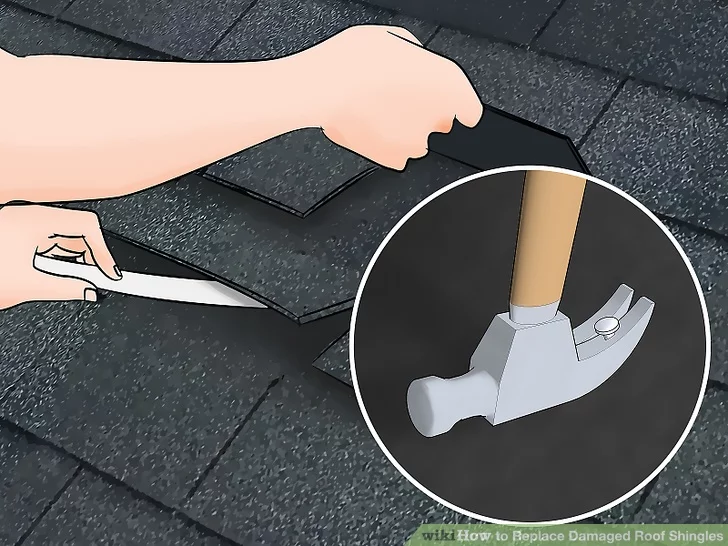
There is adhesive keeping everything in place, so you need to loosen things up to get to work. Start by loosening the adhesive beneath the tabs two rows above the damage, utilizing a small tool to do so. Great choices include a pry bar, crowbar, or the claw of a hammer, which are great for loosening adhesive and nails to pry up shingles.
Remove a minimum of five tabs in the second row above the damaged shingle, which should be enough to see the nails you will be removing. Also, end seams need to line up around a foot to the side of the damaged shingle, so pull away shingles around the damaged area to ensure you get it all.
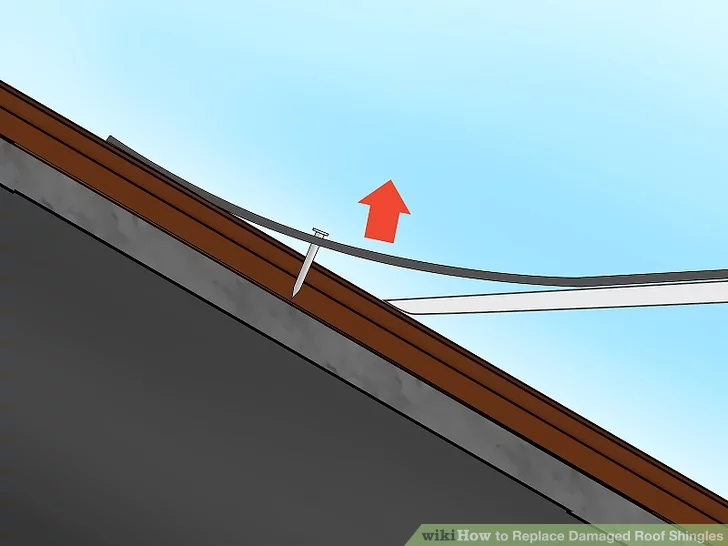
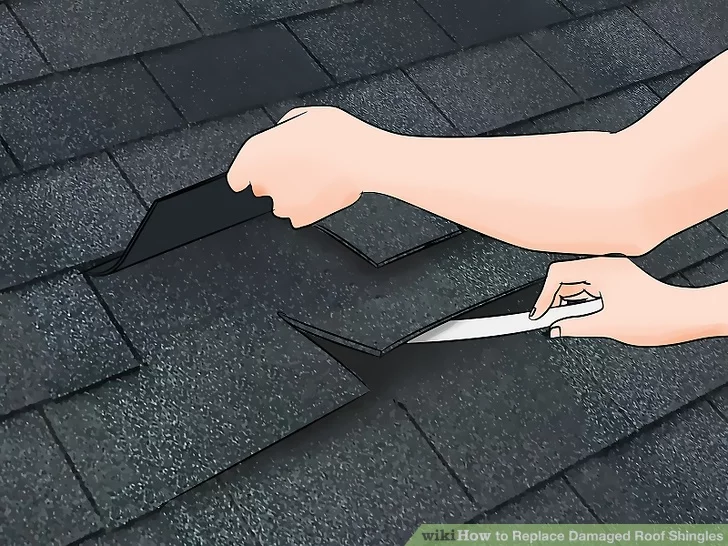
Loosen Any Exposed Nails
The next step is loosening up exposed nails, which you will do with your chosen tool. Insert the tool beneath the shingles around the damaged area and work around the nail to pull it up. The process involves carefully lifting each surrounding tab by 45° to 60°, going slow but firmly.
The goal is to get the surrounding shingles up without breaking or cracking them, which will allow you to simply reattach them when you finish the repairs.
Work Closer to the Damaged Shingle
The work began with the shingles furthest away from the damage, but as you go, you should slowly approach the damaged shingles. Repeat the same process as above to loosen any adhesive and nails until you finally reach the damaged shingle.
Remove the Damaged Shingle
Upon reaching the damaged shingles, remove the adhesive below one before pulling it free and discarding it. Do the same with any other damaged shingles, tossing any that are seriously damaged. You will soon replace these with new shingles, though they should be the same style as the rest of the roof.
Replace the Damaged Shingles
After removing all of the damaged shingles, it is time to replace them with new shingles of the same style. You will start by getting your replacement materials, assuming you have not already. Then, you will install the new shingle, reseal it, and secure any other loose shingles around the area.
There is also a brief section below on dealing with cracked or split shingles, which do not require a full repair. It can also be useful if you caused some slight damage while loosening the shingles around the damaged area.

Procure Replacement Materials
To start, you will need replacement shingles, which need to match those already on the roof. When dealing with shingles, that usually means three-tab asphalt shingles since they are the most common. Regardless, choose the same type and buy enough to replace all of the damaged shingles. Moreover, getting a few extra is a good idea.
Additionally, you will need shingle cement or adhesive to seal the edges of the new shingles and secure loose ones. Of course, some shingles come with adhesive pre-installed, but you will still find it useful for any loose shingles, so go ahead and grab some.
Nails are also a must. They secure shingles to your roof, and many three-tab shingles come with holes meant for nails to let you know how many to use and where to hammer them in. Just make sure to grab roofing nails since they are durable and long enough to get the job done right.
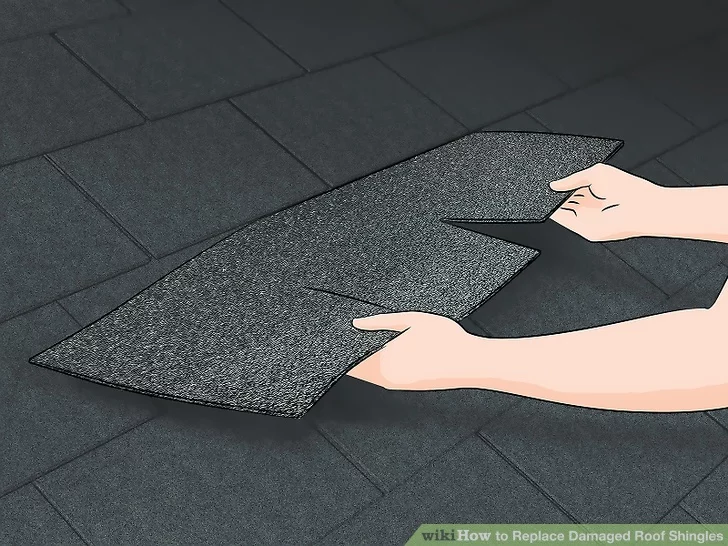
Install the New Shingle
The new shingle should go exactly where you removed the damaged one. If the shingle has adhesive on it, take off the cover before pushing it in, then secure it using nails. If there are holes provided for the nails, use them as a guide. Otherwise, read the instructions that came with the new shingles or follow what was done to the shingles already in place.

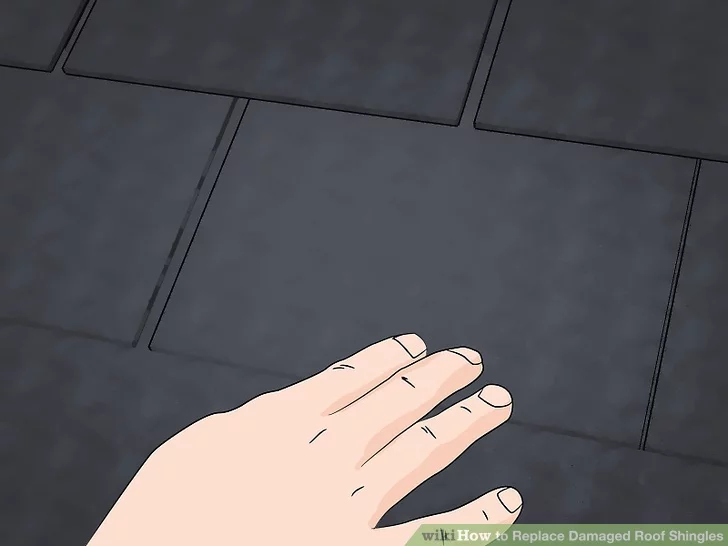
Reseal the Edges
Sealing the edges helps protect your roof and keep things from moving. Therefore, you will want to lift each tab and apply a 1-inch bit of shingle cement beneath each tab. After the cement is in place, firmly press down on the shingle until it is secured. Do the same for each new shingle, then move on to the loose shingles above.
Secure Any Loose Shingles
Do not limit your attention to the shingles you loosened yourself to access the damaged area. Keep an eye out for other potentially problematic areas, such as curled or worn shingles, which could result in moisture getting through. If you see any such areas, add some adhesive, making sure to be gentle as you lift the tabs.
While it might seem like an afterthought, loose shingles are common and threaten the longevity of a roof. Regular touch-ups to loose or worn shingles will prevent water from getting beneath the roof and causing problems.
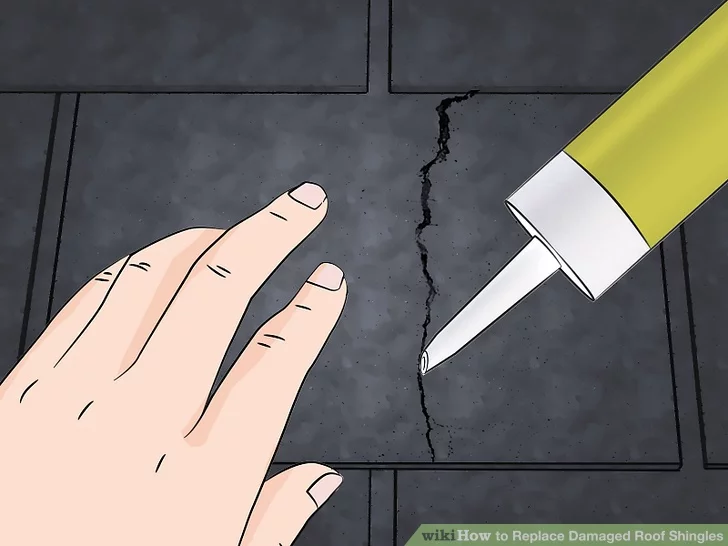
Fix Cracked or Split Shingles
Cracks and splits are much easier to repair than other damage, especially if they are small and clean. All you have to do is use some adhesive to repair them, lining any crack with a generous amount before sticking it back together. It might take a few seconds to dry, so hold it for a time before letting it go.
Even if the damage is slight, you will need to replace any shingles that prove stubborn. That includes brittle and curled shingles, as well as those that do not want to go back down with adhesive.

With over 12 years of construction industry experience, David Bitan specializes in restoring, inspecting, maintaining, and repairing roofs for residential, industrial, and commercial properties.
We Turn Every Project Into A Hive Of Excellence
-

Masterful Craftsmanship
Our skilled team merges art with function to ensure every roof is a testament to expert craftsmanship and quality.
-

Fast & Efficient
Time is of the essence, and we value yours. Count on our prompt and efficient service for all your roofing needs.
-

Guaranteed Satisfaction
Happiness is our benchmark. Experience peace of mind with our 100% Satisfaction Guarantee on every project.

Our mission at Bumble Roofing is to set new standards in quality by ensuring clients receive top-tier service, world-class materials, and an enduring roof over their heads.